Sunday, August 23, 2015

Finally! Fluffy Banana Nut Pancakes

Pancakes generally aren't my breakfast of choice. I'm more of a yogurt during the week and omelettes on the weekend sort of person. However, I love banana nut pancakes. They are less monotonous in flavor as compared to regular buttermilk pancakes and have the added crunch of the nuts to give each bite a different texture. Add some melty chocolate chips and they're perfect.

Even more perfect is the fact that I can use those old, almost black bananas I took from the dining hall instead of throwing them away. Many bananas have been put to good use in this way. Ask my best friend who has been enlisted as taste-tester for variations on these pancakes for the past two years. She will also likely hint that, though tasty, I have never been able to achieve fluffy banana pancakes. Banana-y? Yes. Nutty? Yes. Moist? Certainly. Fluffy? No can do... until now. Thanks to Sal at Allrecipes and the fact that I only had one banana, I finally tweaked a recipe enough to get just what I wanted: fluffy and moist banana nut pancakes with some chocolate chips.

Ingredients (makes ~6 medium pancakes):
  • 1 c flour
  • 1/8 tsp salt
  • 1 tsp baking powder
  • 1 tsp sugar
  • 1 banana
  • 1/4 c each sour cream, vanilla yogurt, milk   (if not vanilla, add 1 tsp vanilla extract)
  • 1 egg
  • Dash almond extract
  • 1/4 tsp cinnamon
  • chocolate chips
  • walnuts
Mix together the dry ingredients. In a separate bowl, mash the banana. Add the sour cream, yogurt and milk to the banana. Stir in the egg, almond extract and cinnamon. Now combine the wet and dry ingredients, but be sure not to stir too much. This will cause the gluten network to break down (and then no fluffy pancakes). If the batter is too thick, dilute with water as desired. 

As you heat a pan, allow the mixture to rest. Melt a small piece of butter in the pan to keep the pancake from sticking. Stir the batter once more (no more than 5 strokes!) and then ladle into the preheated and oiled pan. Sprinkle on chocolate chips and walnuts to your heart's content.


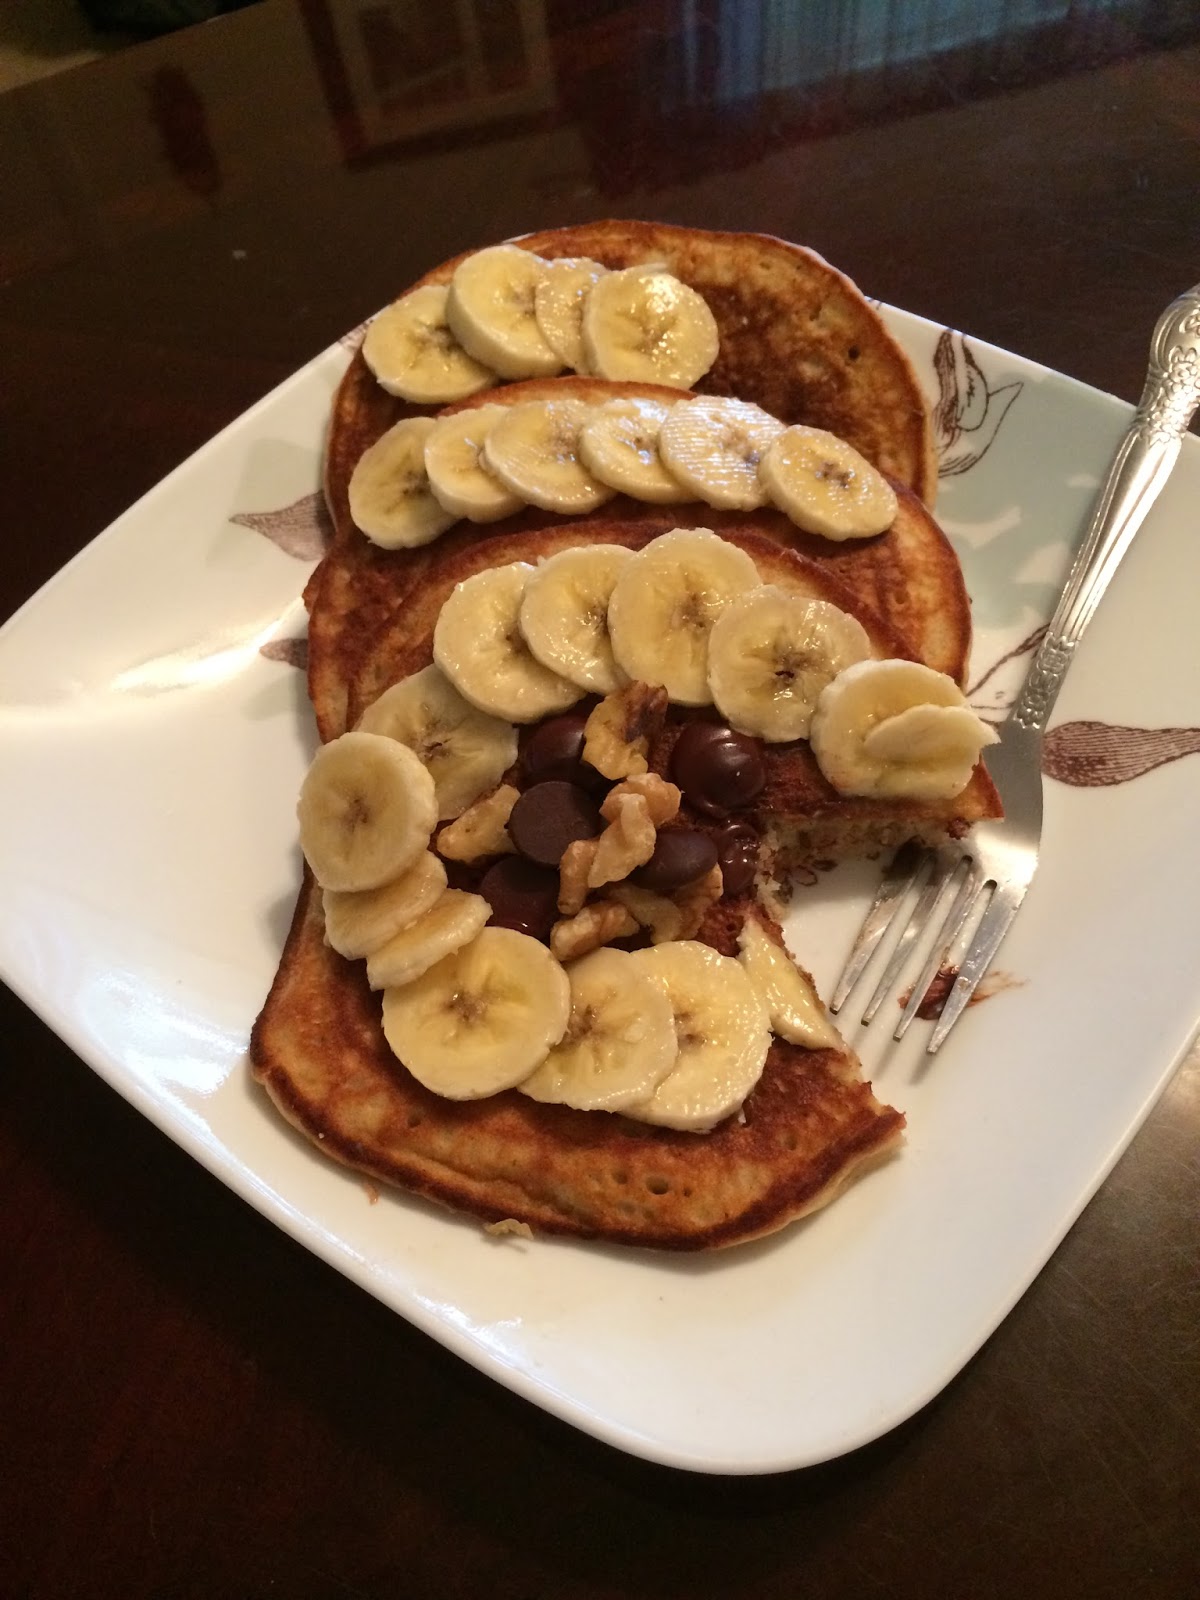
 Flip when the pancakes edges have begun to solidify and bubbles appear throughout (middle photo above). Allow the other side to cook and then serve with extra banana, chocolate, and walnuts.


See Sal for the original recipe.

Thursday, August 20, 2015

Bread Machine:The Human Version

It seems only fitting to begin a blog about my cooking and baking adventures with my favorite thing: bread. When I was younger, my mom taught me how to use our bread machine and before I knew it I was making several loaves of honey wheat, oatmeal, or potato bread each week. During breaks from school, my brother and I would even use the machine to make soft pretzels. Needless to say, the bread machine was in constant use. However, when we moved the machine got packed up with everything else and remains in storage to this day.

If you have ever been accustomed to freshly made bread, I am sure you understand how going back to packaged bread is nearly impossible. So, I decided to learn how to bake bread the old-fashioned way, using my hands to knead and shape the dough. I tried French bread recipes among a number of others, but when my mom found a recipe for Amish white bread, I was hooked.

This is my go-to bread recipe for several reasons. First of all, it is easy enough to make in my college dorm kitchen (which is a priority when time and space are so limited). More importantly, though, is the taste. The bread is soft and moist, with a slightly sweet flavor that pairs well with everything. As a science major, my time tends to be spent in the lab more often than not, but I do make time for this bread. I then use it for sandwiches, toast, and snacks throughout the week. Plus, my suitemates never complain when they come home to the smell of fresh bread!


 Ingredients (1 loaf):
  • 1 c warm water
  • 1/3 c sugar
  • 1 tbsp active dry yeast
  • 1/8 c vegetable oil
  • 1/2 tsp salt
  • 3 c bread flour (*I use all-purpose because what college student wants to buy both?)

Step-by-step:
Dissolve sugar in water. Mix in yeast and allow to stand until foamy as pictured (approx. 10 min.).

Add the oil and salt, mix. Slowly stir in 2-2.5 c flour in approximately half cup increments until the mixture comes together into a dough.

Lightly flour your working surface and turn dough out with a light layer of flour on top. Knead the dough, turning, flipping, and sprinkling with flour as you go. 


Once you have an elastic dough (i.e. it no longer sticks to everything, but is not too dry), coat your bowl with a small amount of vegetable oil. Place your dough in the bowl, and turn to coat. Let it rest until it has doubled in size (about 1 hour).


This is the best part: punch the dough down! Knead the dough just a bit more and then place in your bread pan (don't forget to grease!), shaping if needed. Allow to rise an additional 30 minutes.


Bake 30 minutes at 350 °F and enjoy!