Sunday, October 11, 2015

Substitution Sundays - Bananas

There are many different recipes that call for eggs, particularly when it comes to baked goods, but with the rising price of eggs it seems like a good idea to find ways to bake without eggs. There are certainly many recipes that do not call for this "liquid gold" (my mother, referencing the $2.50 she spent on a single dozen), but there are also ways to replace eggs with other binding ingredients. Bananas work really well as a substitute for things like muffins and sweet breads because they enhance the sweetness. Typically one mashed banana can be used in place of one whole egg.

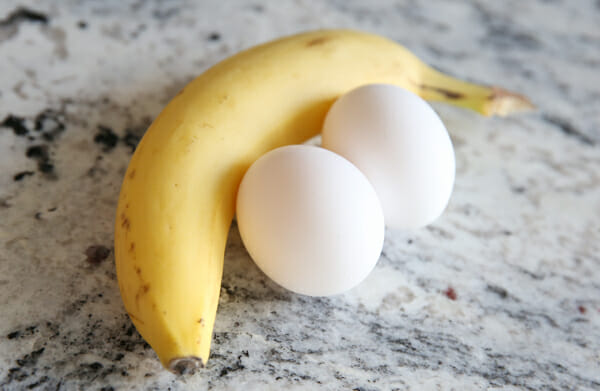
When to replace an egg with a banana:
Use a banana instead of an egg if you don't mind your muffins, breads, or other things tasting like banana in addition to the other ingredients. If you want a very robust blueberry muffin, a banana might take away from the star of the show. However, if you want some nutty bran muffins, the banana might make your breakfast take on a whole new level of awesome. 
When to use the egg:
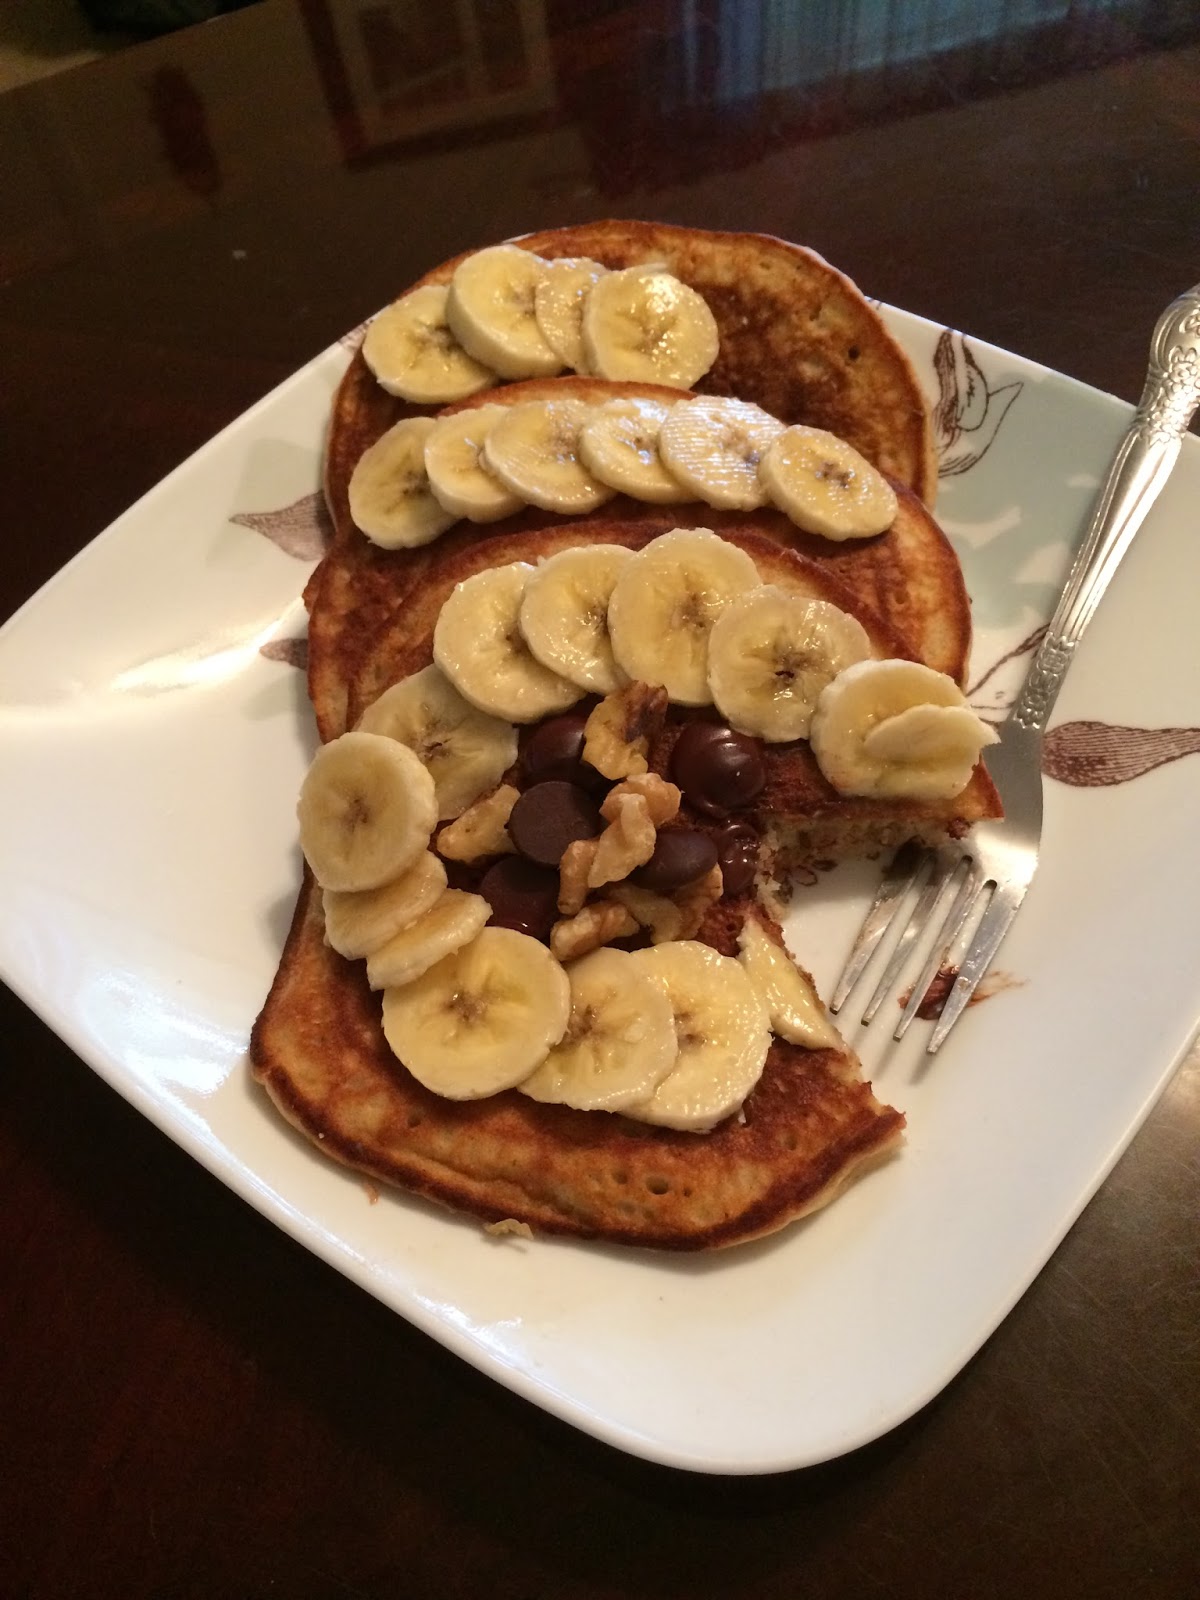
Use the egg if you are making pancakes. I tried substituting an extra banana for the egg in my banana pancakes and I ended up with a very thin stack of pancakes. I think this may be because the banana just wasn't up to the task of holding together the gluten network that needs to form for pancakes to get fluffy. Also use the egg if you aren't looking for banana undertones in your food. 

Note: I've never tried substituting bananas in cookies... If any of you have, let me know how that turned out! I may need to experiment with that. 

Friday, October 9, 2015

Pumpkin Bread Pudding

Fall is officially underway! This is, therefore, my obligatory pumpkin-related post. Those who know me at all likely have heard me gush about my pumpkin obsession, which I will attempt to keep in check. It may be hard. After all, pumpkin is so versatile and tasty! That's probably why my fun fact lately has been that I am obsessed with pumpkin... I even wrote about it in Spanish class last year.

Enough about this fixation of mine. I came up with this dessert when I was trying to figure out what to do with the evaporated milk I had left from making my best friend a German chocolate cake for her 22nd. Since it was also my 22nd just days after hers, and we weren't celebrating until the weekend, I decided I needed a little pumpkin to mark the occasion. I also had a slice of bread that was on the verge of being stale, some shredded coconut and walnuts. The bread was really what inspired me because I realized it would nicely soak up the evaporated milk. Throw in a little bit of Trader Joe's pumpkin butter, some extra spices, and voila: pumpkin bread pudding.

Ingredients (2-3 half cup servings):
1/2 c evaporated milk
1/8-1/4 c pumpkin butter
Dash each of almond extract, cinnamon, nutmeg, and allspice
1-2 slices bread, chopped
Shredded coconut and walnuts to top


Begin by mixing together the evaporated milk, pumpkin butter, almond extract, and spices. Add everything to taste, but use my measurements as a general guideline.


Next, scatter your bread in an even layer along the bottom of a buttered or oiled pie pan (any baking dish will do) and pour the milk mixture over the top, coating as best as possible.


Top with coconut shreds and chopped walnuts, if desired, and bake at 350 °F for 15-20 minutes. This version of bread pudding is ready to eat when it has started to turn a golden brown and the liquid has thickened and been soaked up by the bread.


Enjoy that warm goodness with friends, or with Netflix.


Sunday, October 4, 2015

Substitution Sundays - Nuts vs Croutons

The idea I am presenting today is certainly not new; plenty of restaurants use various nuts in place of croutons in salads. This should appeal to college students, too, because the nuts you might use for muffins or even trail mixes can also serve as a crunchy substitute in any salad. For someone who doesn't necessarily eat salads that often, this can be particularly helpful. You no longer have a random bag of croutons sitting around going stale, but instead have a useful container of nuts for snacks and use in other cooking or baking projects.

I nearly always have walnuts - they are less expensive than some of the other possibilities. These tasty nuts go well with everything including banana muffins, chocolate-chip pancakes, baked sweet potatoes, and, yes, salads. Toss your salad with your choice dressing and sprinkle with walnuts. I typically go with a light, citrusy dressing when I use walnuts, but feel free to experiment.

The great thing about using nuts instead of croutons is that they provide quite a bit of protein for those salads that you may not add other forms of protein to, helping to make the meal more balanced. Of course, you should be aware that nuts also have significant fat content. It is important to eat them, like anything else, in moderation. That being said, toss a few on your salad and wow your taste buds!

Sunday, September 27, 2015

Substitution Sundays - Mayo Grilled Cheese

I am a college student, and as such I have both a limited budget with which to purchase food and  limited cabinet space in which to store that food. Figuring out how to substitute the products that I already have in a variety of cooking and baking experiments is therefore essential. Additionally, these substitutions allow me to try new things and really get creative in the kitchen, which, if you have yet to have figured out, is something I love.

Today's inaugural edition of Substitution Sundays will focus on a simple substitution I tried several years ago. I'm sure most people know how to make a grilled cheese sandwich: slather some butter on one side each of two slices of bread, place one butter-side down in a heated pan, add slice(s) of cheese, top with the second slice of bread, and grill on each side until golden brown with oozing cheese.

However, what do you do when you run out of butter? Using oil wouldn't work because the bread would soak all of it up, leaving you with an extremely greasy sandwich. Mayonnaise, on the ot
her hand, has a significant oil component, but is too thick for bread to absorb particularly quickly. So it works quite well in place of butter! In fact, I prefer it to butter because I think it lends a slight flavor enhancement to the bread. The mayo also works better than the stick butter I buy because it spreads more evenly and browns very nicely.

Now, I understand your skepticism. When I told my friends that I did this, they turned their noses up in disgust. Apparently I am not the only one who has found this to be a great substitution though: BuzzFeed has dubbed it the secret to the perfect grilled cheese! Point proven, thanks BuzzFeed.

Saturday, September 26, 2015

Eggplant Pie

When eggplants go on sale for 99 ¢ a pound I get really excited because it means I can make eggplant parmigiana without breaking the bank! However, said dish is a bit time-consuming to make and I only make the effort for one batch. The eggplant that is left over works perfectly for a dish I have decided to call eggplant pie (because I am oh so creative). It's relatively fast and simple to make because you just pile everything into a baking dish and put it in the oven. Sounds like the kind of dish a college student would appreciate, right? Plus, it can easily be made as a vegetarian, or even vegan, meal by simply leaving out the turkey and cheese.


Ingredients (makes 1 8'' baking dish):
1/2 large eggplant
2 large tomatoes
3/4 c broccoli
1/2 medium onion
1/2 small bell pepper
seasoned salt
pepper
dried basil
3 hot italian turkey sausages or 1/2 pound ground turkey
1/2  clove garlic
Parmesan or Romano cheese
olives

Start by slicing your eggplant and tomatoes into circles. Line the bottom of your greased pan with half of your eggplant slices and top these with half of the tomato slices.

Chop up the rest of your vegetables, reserving about 1/3 of your diced onion and your garlic for the meat. Layer the tomatoes and eggplant with another 1/3 of the onion, half of the bell pepper, and half of the broccoli. Sprinkle seasonings lightly over these layers.


Now mix the reserved onion and garlic with your meat. If you are using sausages as I did, you will need to remove the casing. This can be done by simply squeezing the meat out or by peeling the casing off. Carefully press the meat into an even layer over the vegetables.

Repeat the process in reverse order, finishing with the eggplant slices on top.

Top with cheese and olives and then bake at 350 °F for 35-45 minutes, or until the meat is fully cooked. Viola! A full meal (or 3) that takes about an hour in total to assemble and cook.

Sunday, September 13, 2015

Manchego-Romano Herb Bread

Running out of yeast seemed like an unconquerable problem this weekend, made only
worse by my desire for a grilled cheese sandwich. Sure, I could  have bought some packaged bread from the store, but it wouldn't have been as satisfying. Instead, the Food Network came to my aid with a recipe for parmesan-herb quick bread. No yeast required, but delicious indeed.

The only other problem was that I didn't have parmesan, nor rosemary and thyme. Cue the substitutions. I decided to try out a new cheese last time I was at Trader Joe's and so I used a mixture of manchego and romano in place of the parmesan. Like-wise, oregano and basil work wonders together, just as rosemary and thyme do. I followed the rest of the recipe, minus a few details and ended up with a fragrant and moist bread. I have high hopes for the grilled cheese sandwich(es) to come!

Ingredients:
1/4 c greek yogurt
1/2 c sour cream
1/2 c vegetable oil
2 eggs
1 3/4 c flour
1/2 c manchego and romano (grated or thinly sliced and chopped)
1 tbsp sugar
1 3/4 tsp baking powder
2 tsp fresh basil
1/2 tsp each dried oregano, salt, pepper
1 tsp lemon zest

1 small onion
1 tbsp butter
1/2 clove garlic

Slice your onion and mince your garlic as the butter melts in a saute pan. Caramelize these together over medium-low heat (burner setting of 3-5) for approximately 20 minutes.


While the onions cook, preheat your oven to 350 °F and combine your wet and dry ingredients separately. Whisk together the yogurt, sour cream, oil, and eggs. Set aside.


Measure out your flour and add the cheeses, sugar, baking powder, herbs and seasonings, and lemon zest. Mix these ingredients together. Once the onions are a golden color, mix them into the dry ingredients.


Combine both mixtures, making sure to incorporate all of the flour by gently folding the wet ingredients in. Grease a bread pan and transfer the mixture. Bake for 40-50 minutes, allow to cool, then devour.


Sunday, August 23, 2015

Finally! Fluffy Banana Nut Pancakes

Pancakes generally aren't my breakfast of choice. I'm more of a yogurt during the week and omelettes on the weekend sort of person. However, I love banana nut pancakes. They are less monotonous in flavor as compared to regular buttermilk pancakes and have the added crunch of the nuts to give each bite a different texture. Add some melty chocolate chips and they're perfect.

Even more perfect is the fact that I can use those old, almost black bananas I took from the dining hall instead of throwing them away. Many bananas have been put to good use in this way. Ask my best friend who has been enlisted as taste-tester for variations on these pancakes for the past two years. She will also likely hint that, though tasty, I have never been able to achieve fluffy banana pancakes. Banana-y? Yes. Nutty? Yes. Moist? Certainly. Fluffy? No can do... until now. Thanks to Sal at Allrecipes and the fact that I only had one banana, I finally tweaked a recipe enough to get just what I wanted: fluffy and moist banana nut pancakes with some chocolate chips.

Ingredients (makes ~6 medium pancakes):
  • 1 c flour
  • 1/8 tsp salt
  • 1 tsp baking powder
  • 1 tsp sugar
  • 1 banana
  • 1/4 c each sour cream, vanilla yogurt, milk   (if not vanilla, add 1 tsp vanilla extract)
  • 1 egg
  • Dash almond extract
  • 1/4 tsp cinnamon
  • chocolate chips
  • walnuts
Mix together the dry ingredients. In a separate bowl, mash the banana. Add the sour cream, yogurt and milk to the banana. Stir in the egg, almond extract and cinnamon. Now combine the wet and dry ingredients, but be sure not to stir too much. This will cause the gluten network to break down (and then no fluffy pancakes). If the batter is too thick, dilute with water as desired. 

As you heat a pan, allow the mixture to rest. Melt a small piece of butter in the pan to keep the pancake from sticking. Stir the batter once more (no more than 5 strokes!) and then ladle into the preheated and oiled pan. Sprinkle on chocolate chips and walnuts to your heart's content.


 Flip when the pancakes edges have begun to solidify and bubbles appear throughout (middle photo above). Allow the other side to cook and then serve with extra banana, chocolate, and walnuts.


See Sal for the original recipe.

Thursday, August 20, 2015

Bread Machine:The Human Version

It seems only fitting to begin a blog about my cooking and baking adventures with my favorite thing: bread. When I was younger, my mom taught me how to use our bread machine and before I knew it I was making several loaves of honey wheat, oatmeal, or potato bread each week. During breaks from school, my brother and I would even use the machine to make soft pretzels. Needless to say, the bread machine was in constant use. However, when we moved the machine got packed up with everything else and remains in storage to this day.

If you have ever been accustomed to freshly made bread, I am sure you understand how going back to packaged bread is nearly impossible. So, I decided to learn how to bake bread the old-fashioned way, using my hands to knead and shape the dough. I tried French bread recipes among a number of others, but when my mom found a recipe for Amish white bread, I was hooked.

This is my go-to bread recipe for several reasons. First of all, it is easy enough to make in my college dorm kitchen (which is a priority when time and space are so limited). More importantly, though, is the taste. The bread is soft and moist, with a slightly sweet flavor that pairs well with everything. As a science major, my time tends to be spent in the lab more often than not, but I do make time for this bread. I then use it for sandwiches, toast, and snacks throughout the week. Plus, my suitemates never complain when they come home to the smell of fresh bread!


 Ingredients (1 loaf):
  • 1 c warm water
  • 1/3 c sugar
  • 1 tbsp active dry yeast
  • 1/8 c vegetable oil
  • 1/2 tsp salt
  • 3 c bread flour (*I use all-purpose because what college student wants to buy both?)

Step-by-step:
Dissolve sugar in water. Mix in yeast and allow to stand until foamy as pictured (approx. 10 min.).

Add the oil and salt, mix. Slowly stir in 2-2.5 c flour in approximately half cup increments until the mixture comes together into a dough.

Lightly flour your working surface and turn dough out with a light layer of flour on top. Knead the dough, turning, flipping, and sprinkling with flour as you go. 


Once you have an elastic dough (i.e. it no longer sticks to everything, but is not too dry), coat your bowl with a small amount of vegetable oil. Place your dough in the bowl, and turn to coat. Let it rest until it has doubled in size (about 1 hour).


This is the best part: punch the dough down! Knead the dough just a bit more and then place in your bread pan (don't forget to grease!), shaping if needed. Allow to rise an additional 30 minutes.


Bake 30 minutes at 350 °F and enjoy!